By Sandy Lindsey
Contributing Writer
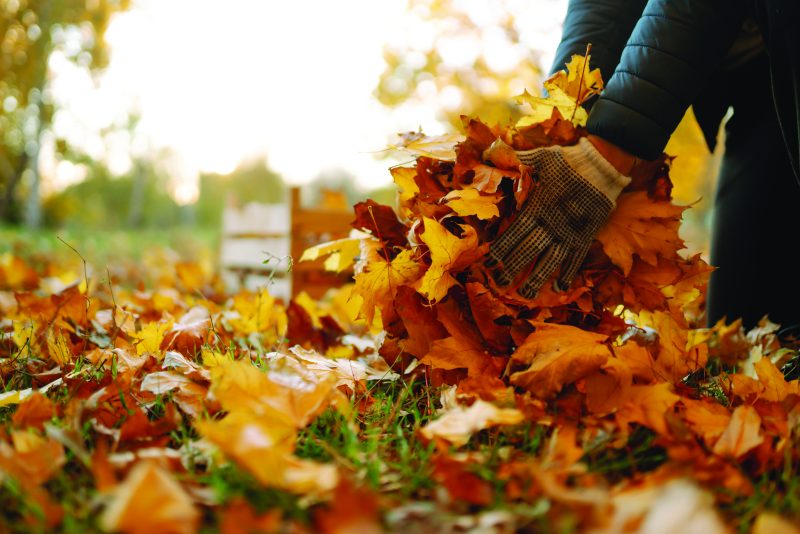
The general attitude toward fallen leaves has changed a lot over the past few decades. What used to be trash to bag up and put at the curb to be hauled away has become a prized, nutritious resource. In fact, some gardeners have been known to grab a few of the bags of leaves put out by neighbors if they don’t have enough in their own yard.
The easiest way to use this leaf litter is to shred it by running it over with a mulching lawn mower or a regular mower, although it will take longer. Shredded, they decay and improve the soil faster, and you can either leave them on the lawn or rake them up and use them as mulch in the veggie garden and flower beds, or around trees and shrubs.
Leaf Mold 101
The other way to use these desiccated leaves is whole. Rake them into a tightly packed pile, water them in, and let nature take its course. You can place them in a casual mound out of the way in a back corner, in a DIY chicken wire frame, or even in a garbage bag with holes for aeration. In more southerly climes, this will break down relatively quickly. In the far north, it may take a few years.
TIP: Shredding the leaves and turning the pile periodically can take that timeframe down to as little as six months in some cases. Leaf mold isn’t prized for its nutrient content as much as it is a soil amendment that improves soil structure and supports the microbes, healthy fungi, bacteria, and other vibrant life it contains.
To Clean or Not to Clean
Remove diseased or infested plants and put them straight in the trash to avoid spreading pests and pathogens that may survive winter. Yes, hot composting can kill many pathogens, but why take a chance? You can compost dead plants that were otherwise healthy, or leave them in place to provide shelter for butterflies and other beneficial insects. Leaving some dried seed heads will feed birds in otherwise sparse conditions and may allow for an early display of flowers in spring.
Hot Versus Cold Compost
Reaching internal temperatures of 130 degrees to 160 degrees, hot composting is faster, taking from weeks to a few months, and it allows you to compost entire plants, even weeds, because the seeds will not survive the high temperatures. It does, however, require regular turning and must be at least 3 cubic feet to create its oven-like effect. Never let it exceed 160 degrees, as that will harm the beneficial microorganisms essential to its success. Invest in a compost thermometer, and turn the pile when temps get to about 155 degrees to 160 degrees. Hot composting also requires a specific mix of two to three parts “browns” (carbon-rich shredded dry leaves, dead plants, straw, twigs, wood chips, sawdust, or shredded paper, cardboard, or egg cartons) to every one part “greens” (nitrogen-rich veggie scraps, coffee grounds or tea leaves, grass clippings, eggshells, old bread, or chicken/cow/horse manures).
Despite the name, you can do hot composting in cold winter months.
Cold composting is easier as it does not need a relatively precise mix of “browns” and “greens,” but it takes longer — on average from six months to two years — and it will not kill weed seeds.
Beneficial Last Planting
Those with appropriate winter protection, or better yet a greenhouse, can keep planting traditional fall crops. That unicorn of growing zones, South Florida, sees late fall-winter as a prime growing season for tomatoes (yes, tomatoes!). For everyone else, these chilly temps signal the transition from final harvests to putting the yard to bed for winter. The exception is late-season winter rye (aka cereal rye), a popular “last chance” cover crop that can be planted through early November in Zones 5-6, and late November in Zones 7-8. It will help improve soil structure, prevent erosion, and perhaps most importantly, will keep weeds down. Winter wheat and Austrian winter peas are other options, but must be planted 35 days before the first hard freeze. All provide food for the local wildlife and deer.
Bulb Care
If not done already, dig up frost-tender bulbs and tubers, such as gladiolus, canna, dahlia, caladium and tuberous begonias. Except for gladiolus, gently brush off loose soil from the bulb and roots, as it may harbor disease, attract pests and trap moisture, which can lead to rot. Cut back the dried-out tops to 2 to 6 inches (depending on bulb type), then layer bulbs in a cardboard box filled with peat moss, vermiculite, sawdust, or sand. Hanging them in mesh bags also works. Store them in a cool (40 degrees to 50 degrees is ideal), dark, dry locale, and inspect monthly.
Equipment Care
You can store gas-powered tools in two ways: completely drained of fuel, or full with a fuel stabilizer added. Check the manual.
Remove the battery from an electric lawn mower, or disconnect the spark plug wire on a gas model, before cleaning the mower deck and sharpening the blade. Wipe down the entire unit. If fuel powered, change the engine oil and filters. Replace the spark plug, too, if it’s time.
Thoroughly clean tools. Sanitize them with isopropyl alcohol to stop the spread of plant diseases. Dry completely, as moisture leads to rust. Sharpen blades with a flat file, keeping the existing angle. Wipe down joints and spray blades with a moisture-displacing lubricant. Tighten any loose bolts or screws.
Shovels, spades, rakes and hoes: Clean thoroughly, then remove any rust spots with a wire brush or steel wool. Coat the metal with a silicone spray or lightweight oil to prevent further rust. Eye over the handles. Sand deteriorated wood with 120-grit sandpaper until smooth, then coat it with boiled linseed oil. Let it soak in for 15 minutes, then wipe off any excess oil.