
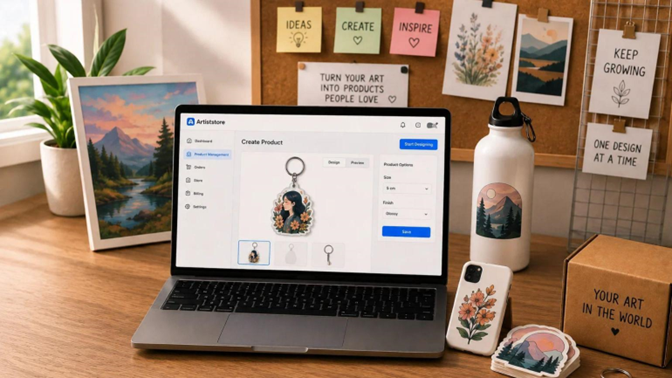
Say you’re an artist with a folder full of finished designs sitting on a hard drive with nowhere to go. Getting that work onto real products used to mean a whole separate skill set: finding a manufacturer, ordering in bulk, storing boxes of inventory, and hoping enough of it sold before it became a headache.
Print-on-demand solves all of that, and Artiststore is a reliable site for turning your artwork into physical products. It’s a POD and store-setup platform where the design work is yours, and everything like production, packaging, and shipping gets handled on their end. Here’s how the process actually works and how you can create a POD art portfolio with Artiststore.
1. Prepare Your Artwork for Print
First things first, before you design or upload anything, your artwork needs to meet basic print standards. Most platforms expect files at 300 DPI and prefer PNG or a similar format that supports transparency, especially if your design has clean edges or isolated elements rather than a full background.
File naming matters too. It helps you keep the files organized, and it helps the manufacturer understand the design name, quantity, and accessory number.
One thing worth knowing: the requirements aren’t the same across every product. But worry not, everything, including product descriptions, file requirements, file naming, templates, and how-to-upload instructions, is directly available under every product page on Artiststore.
2. Choose a Product and Upload Your Design on Artiststore
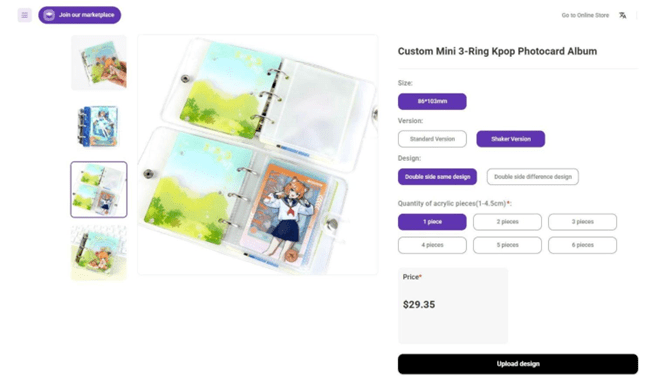
Step 1: Log in to your Artiststore account, and go to Create Product under Product Management. From here, you’ll see thousands of product options to choose from. Pick one, and you’ll land on that product’s page, where you can set specifications like size and finishing before adding your design.
Many products come with a built-in online editor, which lets you preview how your artwork will actually look before the product goes live.
Step 2: Click Start Designing to open the online editor (don’t see the option? Skip to Step 3). Then upload your file, make any necessary adjustments, and Save. Now click Preview, and the editor generates a mockup so you can see your design on the actual product rather than guessing. If something looks off, you can go back in and adjust before finalizing.
Note: Not every product supports the editor.
Step 3: Designs with a lot of fine detail or complex layering sometimes can’t generate a mockup automatically. That doesn’t complicate things at all. You just go to the product page, choose your specifications, and click Upload Design to add your file directly. The file requirements and any available template are listed right there under the product description.
Step 4: Once your design is uploaded, whether through the editor or manually, fill in a title, subtitle, and description for your product, then add a product image. These details aren’t just formalities. A clear title and description help customers actually understand what they’re buying.
Step 5: Finally, set your price, add a promotional price if you want one, and enter your available stock. Click Save, and the product goes live.
3. Build Out Your Collection and Keep It Organized
One single product isn’t a portfolio, is it? Repeat the process above for each product you want to sell, applying the same design or new ones depending on what suits each item. Some artworks work better on certain products than others, so it’s worth previewing a design on a few different items before committing to all of them.
Even as your catalog grows, managing it stays simple on Artiststore. Under Product Management, the Product List shows everything you’ve created in one place.
You can edit details, remove a product with the trash icon, or sync a listing to an existing store you’ve linked to Artiststore, which keeps you from managing products across multiple platforms separately.
It’s also worth ordering a sample of your own product early on, which can be done through the Product List option itself. Click on the tag icon to order a sample, so you can see how a color actually prints or how a size runs. It also gives you the chance to take real product photos for your listings, which tend to land better with customers than a mockup.
Finally, to group related products into collections and make managing them easy, create Product Collections under Product Management and add your products to the right collection.
Final Thoughts
Building a print-on-demand art portfolio isn’t a one-time setup. It’s closer to an ongoing process of adding products, checking what resonates with buyers, and refining your listings as you go.
Starting with a handful of products rather than uploading your entire portfolio at once makes it easier to see what’s working and what’s not before you scale up.
Once you have a few solid listings, use that feedback to guide what you add next, and let the collection grow from there!