By Sandy Lindsey
Contributing Writer
Prevention is the best medicine, especially when it comes to plumbing. The first step is to inspect the entire house to discover any potential problems before they become major issues.
Shut off all the water in the home, then look at the meter. If it continues running, there’s a leak. But don’t rush to dial the plumber just yet. Let’s get out a strong flashlight and the moisture meter, if available, and go exploring.
Notorious Leakers
Bathrooms, particularly toilets, are a significant source of leaks. Remove the toilet tank lid, then add a few drops of food dye to the water and let sit for 10 to 15 minutes. If any food dye appears in the bowl, it’s time to replace the flapper.
While that test is in process, look around the toilet for any puddles or damp patches. Mold growth or peculiar odors can also point to a leak. Tighten or replace the seals in the water-supply lines. Shut off the water at the valve behind the tank to replace the water lines or the toilet’s fill valve, if that’s the problem.
If the leak appears to be coming from the toilet’s base, it may be the wax ring or rubber gasket underneath. Call a plumber if there’s any concern about lifting the toilet or properly setting it on the wax ring, which should be replaced after being compressed. Rubber gaskets are more forgiving but don’t last as long as wax rings, which have been known to last decades.
These and the following inspections should be done every month or two, depending on the age of the home.
Faucets 101
Faucet leaks can come from worn cartridges, washers, O-rings, seals, or loose connections. Turn off the fixture’s water valves, then remove the faucet handle. Replace the part causing the leak.
Any tarnished handles or face plates can be changed out easily for a quick spiff-up. If a kitchen or bathroom vanity faucet is old or deteriorated, consider replacing the entire unit.
Don’t forget to inspect the showerhead for leaks, too. If it’s leaking at the base, check the rubber washer or O-rings for deterioration or mineral buildup. If it’s leaking at the spray end, a whole new unit may be in order.
Under the Sinks
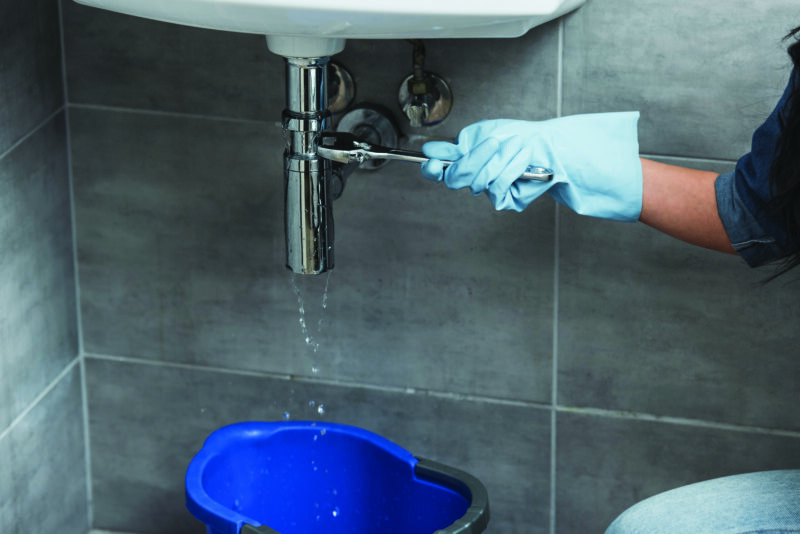
Look under the sink for water-supply line leaks. Use a flashlight and a dry hand to reach up behind the sink and touch around for wetness. Tighten the water line(s) or replace the fittings as is appropriate. Next, fill the sink two-thirds full with water, then unplug the stopper. This causes a lot of water to flow out at once. Inspect all along the drain lines for any sign of dampness. Repair as needed.
See a suspicious spot under there? This is where a moisture meter comes in handy to give an accurate reading on a wall or cabinet floor that may otherwise seem dry enough to the touch. Damp spots with no visible source of leaking water, particularly those toward the back of the cabinet, may indicate a leak inside the wall. Call a plumber.
Water Heaters
Keep an eye out for pooling water or mineral deposits below the water heater. These are clues that it’s weeping and needs repair or replacement. For tank-style heaters, you can set a water leak alarm next to the unit — some models even offer phone app alerts. A leak alarm also works well for large, hard-to-move appliances with water supplies, such as the washing machine, refrigerator and dishwasher.
Caring for Clogs
The first step for clog-free drains and toilets is to keep hair, grease, food waste and soap scum out of the pipes. When a clog happens, start with a plunger. Didn’t work? Try removing the P-trap (U-shaped pipe) under the sink if that seems to be the problem, or try a drain snake for toilet, shower and deeper sink blockages. Manual crank models come in lengths of up to 50 feet.
One cup of baking soda, followed by 1 cup of vinegar, followed by a pot full of hot water 15 minutes to an hour later, is a natural alternative to chemical drain cleaners. Keep in mind that it’s not as effective as chemical cleaners.
Low Water Pressure
Fixing low water pressure can be as simple as cleaning a clogged faucet aerator, replacing a showerhead, or fully opening a main shutoff valve.
Also, when was the last time the whole house water filter was changed? If the problem only affects the hot water, it may be time to flush sediment buildup from the water heater, following the manufacturer’s instructions.
If the pressure drops when multiple fixtures are open, the demand may simply be too high, so pace usage. If you suspect a clog or the water is discolored, it’s time to flush the lines. If pressure remains low, there’s visible water damage, or you suspect a leak, call a plumber.
Tool Time
Real estate agents traditionally give a plant as a housewarming present at closing time. What they should give is a plunger.
Skip the fancy plungers. A basic “sink and drain” plunger, with both a traditional cup and a pop-out flange for toilets, will do the job well. Drain snakes (augers) range the spectrum from handy 2-foot plastic hair clog removers to hand crank models up to 50 feet long and power models up to 150 feet long.
Get a quality adjustable wrench for tightening dripping fittings, a specialized faucet and sink wrench for those awkward spaces, and a roll of plumber’s tape for creating a watertight seal on threaded pipe connections. Keep a bucket and old towel at hand to help prevent and clean up messes.
An inexpensive moisture meter is much more accurate than fingers, while a drain camera takes the guesswork out of what’s going on inside the pipes. These days, the camera cost can be brought down considerably by getting an endoscope attachment for your smartphone.